
First, the basics. This is the icon for the align tool:
 |
| My standard tiny icon. |
And these are the various options:
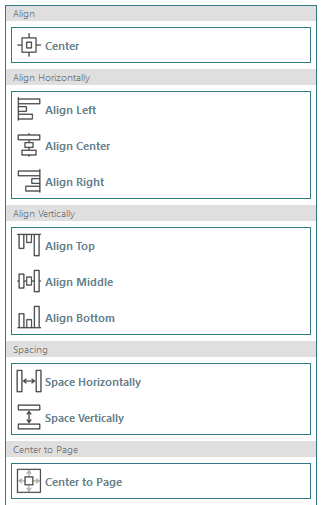 |
| Aligning options. |
I like to use the align tool for a couple different tasks. First, the 'Center' option. I use this to center two or more objects, shapes, or designs. For example:
 |
| I haven't had a doughnut in a long time; plenty of cookies though. |
Next, I like to use the horizontal and vertical align tools to make my sticker sheets look pretty and organized. I also have used this tool when using different fonts to make them all the same 'level'. Below are some examples of what I mean.
 |
| Shameless plug for my etsy store if you are a fan of these stickers. |
 |
| Sometimes aligning things just make them look nicer. |
One of my favorite align tools to use is the spacing option. I like to use this for fonts, shapes, and really anything that is repetitive. It spreads everything out evenly and can make things look really top notch. It will use the two furthest shapes as end points. If there isn't enough room, the shapes will overlap, but they will be overlapped really evenly. So you got that going for you.
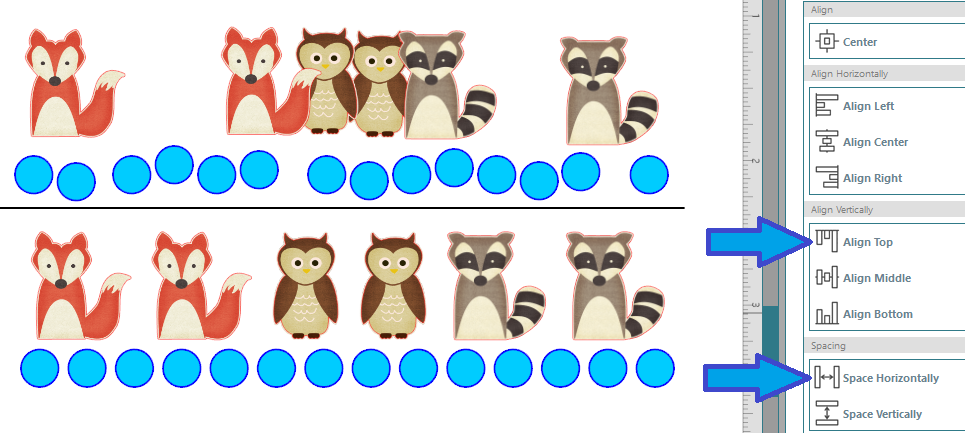 |
| I used both vertical aligning and horizontal spacing to make the bottom rows look fabulous! |
The last option for aligning is the 'center to page' tool. Which is exactly what it sounds like. It centers the selected objects to the center of the page. I know, right... amazing. I don't think I have ever used this tool. I don't even feel like showing you a picture. Just sit for a moment and see if you can visualize what being in the center of the page looks like. I am just so good at explaining these things sometimes.
Let me know in the comments if you need any further explanations or descriptions. Thanks for reading.
No comments:
Post a Comment