As always the final product first:
 |
| The Millers... they always go all out for Christmas. |
I didn't actually print and cut these out because my last name isn't Miller. However, I have made similar stickers for my etsy store.
 |
| Just another variation of the sticker or a blatant promotion... I'm not really sure. |
Step 1: Set up your page to match up with a 8.5" x 11" piece of paper. Be sure to add print and cut marks.
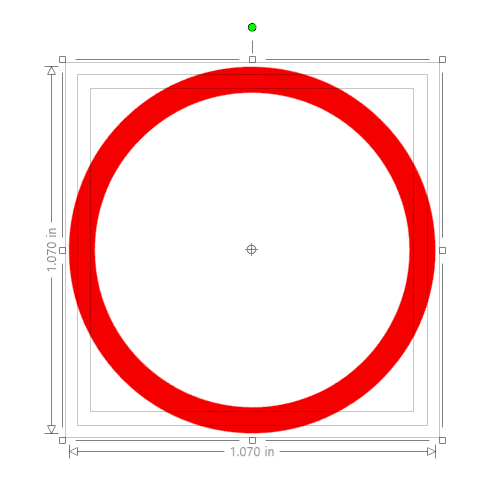
Step 2: Make a 1" circle in your work area. Then, create an offset. I went with an offset of .035". Set the offset to be an non-cut line and color in this offset to be your background color if you would like.
Step 3: Create an internal offset from the 1" line. You should now have 3 circles, it's getting crazy up in here. Set the new offset to also be a non-cut line. I chose to make the two outer circles red and the innermost circle white.
 |
| It is important to have an offset for the cut line. This makes sure the entire edge of the circle will be red if your Silhouette doesn't cut it just right. |
Step 4: The next step will be to add some fancy text around a circle. Create one more circle with a diameter of about 0.6" and center it with your other circles. Make this circle a non cut line. This is what my progress looks like so far. The horizontal blue line is a guide line so I can line up my text in the next step (Learn a tiny bit more about guide lines in my Reasons to buy Silhouette Studio Designer Edition).
 |
| I swear... that is the last of the circles. |
Step 5: The first text box will be the words "Merry Christmas". The font I picked was Lucida Calligraphy and I set the lines to be non-cut lines. The second text box will be "The Millers". Don't worry too much about size and character spacing, that will be done in the next step.
Side note... check your spelling. I didn't spell Christmas right the first go round.
Step 6: Drag the green box to the top of your inner circle. Next, use the slider bar on the far left of the green text box (blue arrow) to move the words upwards and away from the center circle. If you letters looks crammed together use the character spacing tool in the text style options to make things look nicer.
 |
| Remember the blue guide line is just there so I can make the letters more or less centered. |
Step 7: Repeat the last step with your other words. But this time, move the slider down to move the words below the center circle. When you are happy with the words and their alignment delete the guide line and make the center circle's line translucent.
 |
| This was the hardest part. |
UPDATE: I have decided some things are just explained better with video. Feel free to watch this short video (29 seconds) to help explain this step.
Step 8: THIS STEP IS SUPER IMPORTANT!!! For some reason the Silhouette is terrible at moving text that is on a circle. Like... REALLY BAD. Before you move your sticker you need to convert your text to a path. Then group everything together. Select the text box and right click. Then select the option to convert to path. Do this for both sets of words.
Below are some examples of copying, pasting, and moving your sticker when your text is not converted (in this case "The Millers" has not been converted to a path).
 |
| This is just copy pasted. WTF Silhouette. |
 |
| This is what happens when the pasted circle from the last picture is moved to the right. I don't even know. |
 |
| This is the result of me hitting the undo button. It doesn't even undo correctly. |
At this point, after you have converted the text, the sticker could be done. But I wanted to add a bit more holiday cheer.
Step 9: Find a couple images that will look nice on your sticker. Resize the images to fit and set them to the side. I also like to put the initial of my last name in the center of if I am doing something like invites, business correspondence, or non-holiday cards.
 |
| A few embellishments for my stickers. |
Step 10: Check the cut lines of your circle before you make any duplicates. Once your are sure you only have one cut line, make as many duplicates of your base circle as you have images. Place one of each of the images into one of the duplicates.
 |
| My embellishments are now centered and grouped with the sticker. |
Step 11: Duplicate the circles down the page.
Step 12: All you need to do now is print and cut your stickers. All done!
Thanks for following along. This tutorial is so useful because it can be adapted for so many other stickers like wedding invites, themed parties, birthday cards, etsy business flair, etc. Please send me a picture of your stickers in use, I love to see what others have made! If you have any questions please post them in the comments and I will do my best to answer them.


No comments:
Post a Comment